I’m really not into sports. I know almost nothing about football…I mean, why is it even called football when the word means ‘soccer’ to the rest of the world? I don’t know where the 50 yard line is. The only things I understand are fumbles and touchdowns.
But some things I do love are: Seattle, games, concerts, being with friends, making yummy food, decorating, crafting…put that all together and it’s a super bowl party.
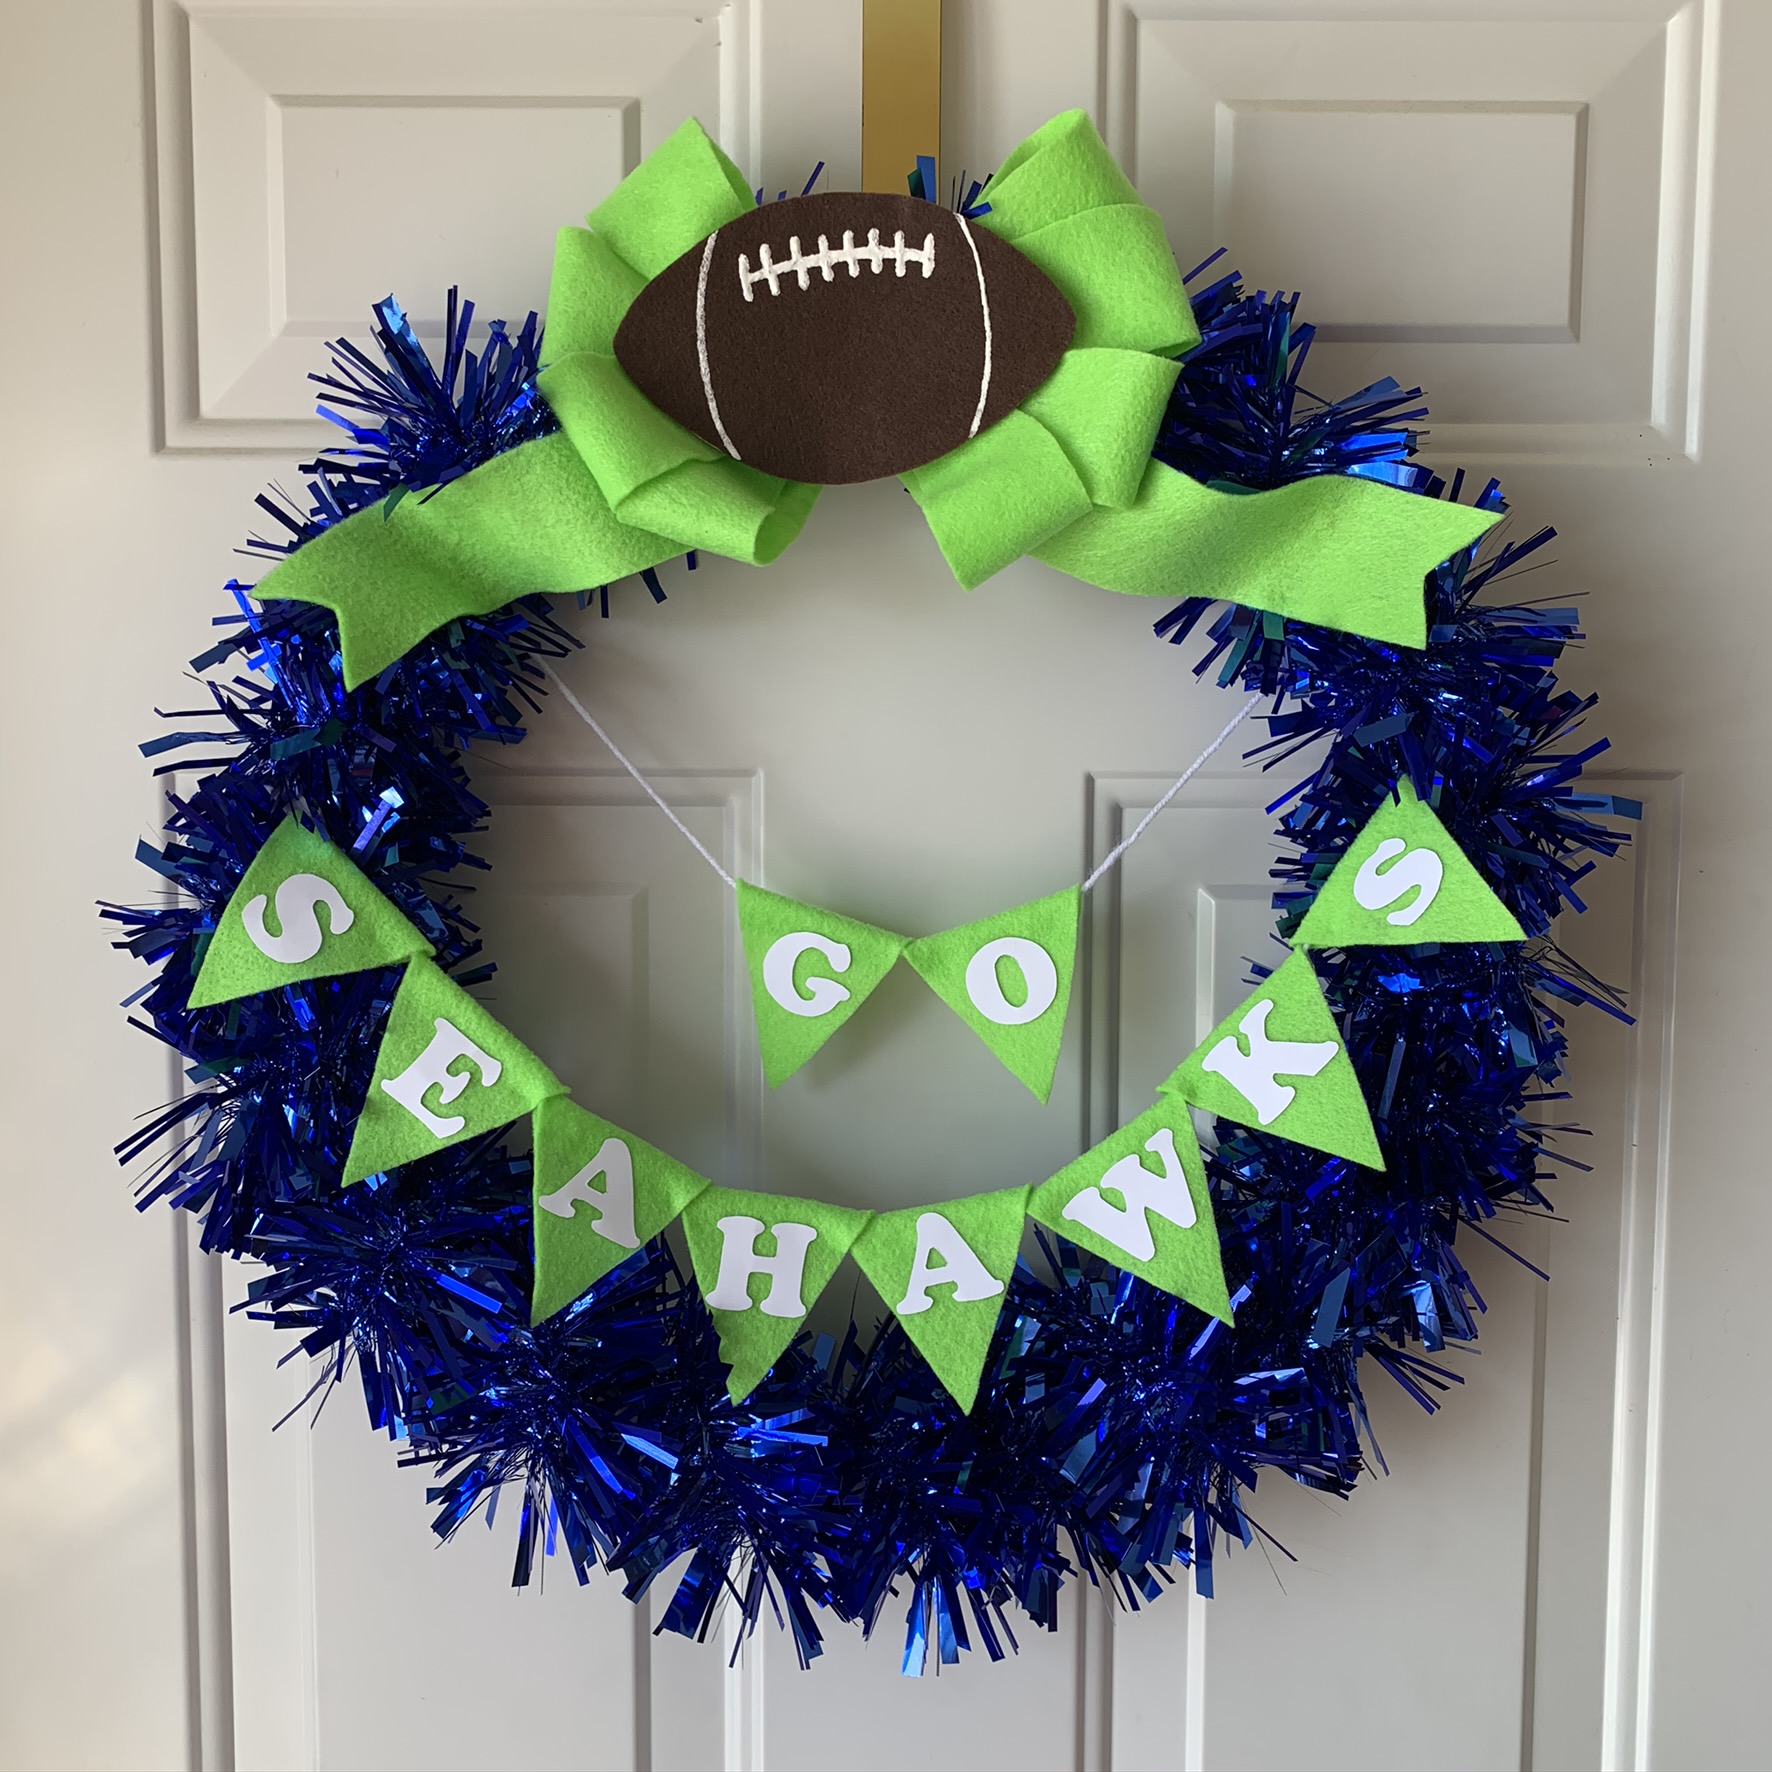
I decided the first thing a good hostess needs for a Super Bowl party is a festive wreath for the front door. It’s the first thing to greet your guests before you do so it sets the tone for your party.
I hoped the Seahawks would make it to the Super Bowl this year, so I made a Seahawks wreath, but you can make your own team wreath! You can still use my FREE printable pattern and make your own letters by hand (or type up your own using the Cooper font).
I love the look of the tinsel garland because it looks like cheerleader pom poms. For the blue color I wanted, I bought a patriotic garland that had red/white stars and just cut the stars off. It’s cute, but it will melt in extreme heat, so make sure the temperature is okay if you put it on your front door.
I bought ribbon for this wreath then didn’t use it because I wanted the bow to match the flags exactly. So instead I made a ‘faux bow’ by cutting strips of felt in a curved shape to trick they eye into giving it a tapered look like an actual bow.
Materials
Wreath Frame
9′ Tinsel Garland (in first team color – Party City or Hobby Lobby have them)
3-4 Felt Sheets (in second team color, for bow & flags)
1 Brown Felt Sheet (for football)
White String (or yarn)
Chip Board or Cardboard (I used a cereal box)
Card Stock (for letters; optional), or Paper (for football & flag patterns)
White Puffy Paint
Supplies
Printer
Pen or Pencil
Hot Glue Gun/Hot Glue Sticks
X-Acto Knife/Cutting Mat
Paper Scissors & Fabric Scissors
- Take the wreath frame (you can get a smaller one at Dollar Tree…I cut off a 17″ rim of a Dollar Tree laundry basket) and wrap the garland around it. Tie the ends onto the frame with string. Leave a bit of space for the bow.
- Print the patterns & cut out (use card stock if using the letters).
- Using the patterns, cut out the felt pieces (1 flag for each letter, bow with tails, & football).
- Glue the felt football onto the cardboard then cut around.
- Apply a line of puffy paint with 8 ‘stitches,’ and 2 curved lines on the sides. If you’re nervous about this step, practice first! After it dries, glue the bow pieces to the back (4 loops on each side and 2 tails on the lower part). Cut 3 pieces of string and glue it to the center back and each bow tail to tie to the wreath.
- Glue each letter onto a flag (or you can letter by hand with the puffy paint instead, directly on the flags). They are backwards so that you can just flip them over to have no lines showing. I find it easiest to cut out the holes in the letters with a blade first (such as ‘O’ and ‘A’), then cut out with scissors.
- Cut 2 long pieces of yarn. Fold the top of each flag over the yarn and glue the back edge. Place the flags about an inch apart. Glue the team name flags to the second yarn.
- Lay the string flags over the wreath to drape how you want it to look, then tie the ends to the wreath and trim. Now go enjoy some dip…you’re done!
Which is your team? Let me know with a comment!

Go Hawks! (Hawkeyes and Seahawks!)