
In my neighborhood, the houses are extremely close together, so we had to quickly get some curtains when we first moved in. I bought some lovely trellis curtains for the dining room and living room (at the time I searched for hours and hours online until I found them at zgallerie.com but now you can get them at Walmart or just about anywhere). I still needed a big curtain for the porch window door. I didn’t want more trellis because that would be too much, and I didn’t want another pattern, because multiple patterns is a general design no-no as it ends up looking too chaotic. I also didn’t want a solid color as that would be too boring. So I decided some kind of picture would be best.
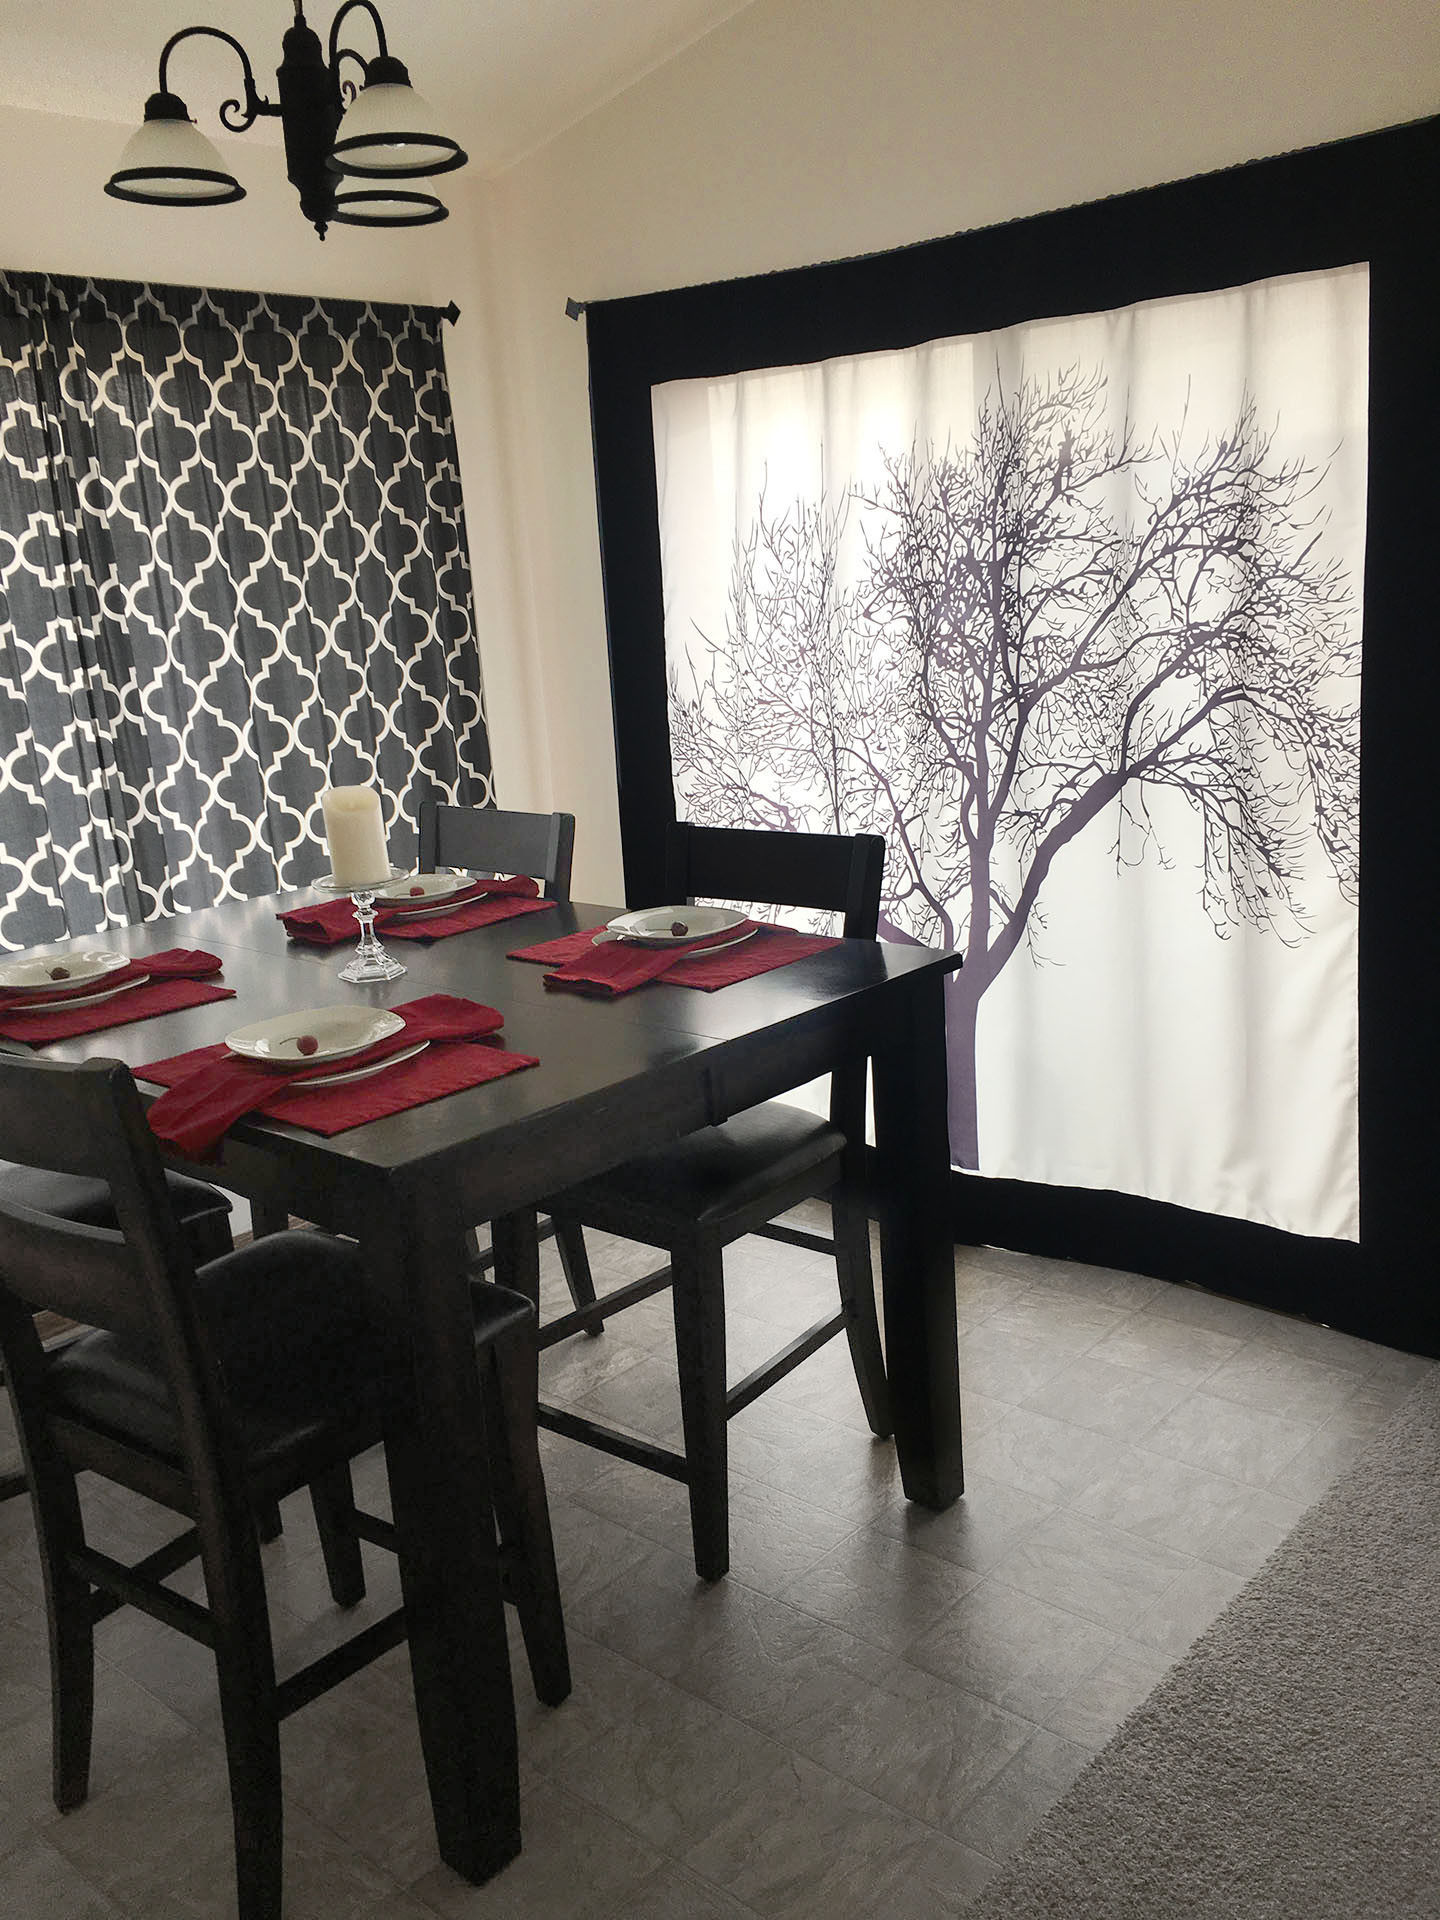 I looked around and quickly realized I was not going to be able to afford what I wanted. So I decided to make it myself! I made a beautiful tree curtain. It’s like hanging artwork, and I love the soft glow it gives in the early morning since the fabric is a bit sheer. And I only spent $20! How did I do it, you ask?
While curtains are generally ridiculously expensive, shower curtains are not! I found a fabric shower curtain with a design I liked on Amazon, then went to Walmart and bought the longest black single curtain to cut up for the frame. The sizes available are 54″, 63″ and 84,”, so you want the 84″. Oddly enough, all the sizes are the same price, $9.87.


Eclipse curtain from Walmart – $9.87
Here’s how I did it!
FIRST STEP: Measuring
After ironing the shower curtain, I cut the metal loops off the top by cutting straight across. Then I measured it to see how long the frame pieces would need to be. Next I measured the pocket of the black curtain so I would know what size to make it on mine. The width of each panel ended up being 7 3/4.”
SECOND STEP: Cutting
I seam-ripped the black curtain pocket open so that the top and bottom pieces would be long enough for the 2 longer pieces (top and bottom). Then I cut the curtain into 4 pieces, which was pretty complicated for many reasons…2 sides already have finished seams, then you have to add 1/2″ for each new seam, and account for the new pocket for 1 piece.
THIRD STEP: Sewing
I sewed on the 2 side panels, and turned the seams to hide the raw edges, then I did the same with the bottom panel. Lastly, I sewed the rod pocket, then sewed it to the top of the curtain. And that’s it! It turned out to be fairly heavy, so I recommend getting a strong rod to hold it up (don’t buy the skinniest cheapest one).
Which picture curtain did you choose? Share about it in a comment!

