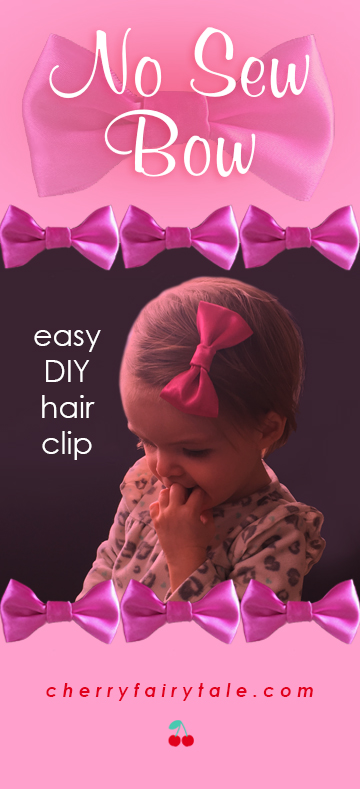
I like sewing. Some things should always be sewn, like tutus (don’t get me started). But some simpler projects are easier and look even better without sewing! One in particular is a ribbon bow hair clip. So simple and so adorable! Initially I tried sewing it, and it just didn’t look right or hold well, so glue is the way to go on this one.
I like being resourceful, so didn’t buy any ribbon; I used ribbon from the handles of a shopping bag. I also used leftover ribbon from the centerpieces I made for my wedding, for a nice little nostalgic touch.
Supplies
Lighter (if you want to seal edges)
Hot glue gun/hot glue sticks
Fabric Scissors
Ruler (or you can just ‘eyeball’ it)
Materials
Ribbon (your choice on size; I used 2.” Must be synthetic in order to burn edges)
Hair clip (usually in jewelry section of the craft store)
- Cut the length of ribbon in the size you like. I used 2″ wide ribbon and cut 8.”
- Use the lighter to seal the edges (must be synthetic fiber or it will burn and not melt…careful!)
- Pinch the center (with the seam) into an ‘M’ shape and glue in place.
- Glue the back side of the bow to the top of the hair clip.
- Cut a square of ribbon (for the middle wrap) and seal the edges with the lighter again.
- Fold the square (into about thirds) and glue (it’s best to only glue at the edges so you don’t end up with lumps).
- Holding the clip open, glue one edge of the ribbon piece to the under side of the clip (with the ribbon seam on the inside). My fingernails are not picture-perfect in this picture…artists generally don’t have perfectly manicured nails 🙂
- Pull it tightly around and glue the same way on the other side of the clip. Done!
I have a nice set of bows for my toddler girl now. Did you make a bow? What color, what kind of ribbon and who for? Let me know with a comment!


