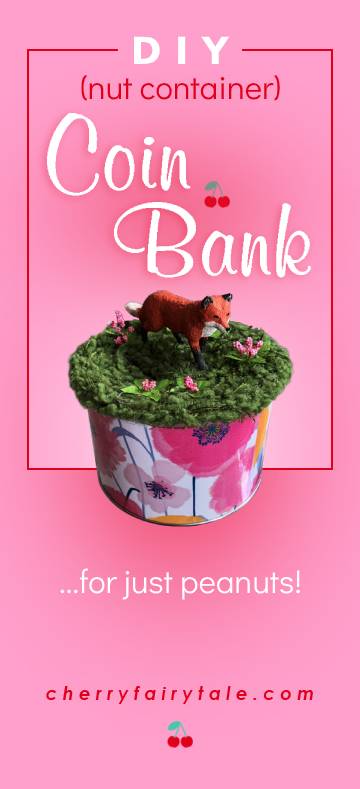
Before you throw out that empty nut container, consider up-cycling it instead!
I can’t stop with my daughter’s bedroom theme, so when she needed a piggy bank to keep all the coins she has collected from her grandparents, I looked for a fox one. Then like always, I realized I could make exactly what I wanted.
Materials
Plastic Lid Container (usually nuts or the bread crumbs at Dollar Tree if you don’t already have one)
Wrapping Paper (can also get at Dollar Tree)
Lamination Sheets
Figurine (can also get at Dollar Tree)
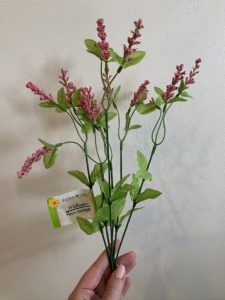
Tiny Artificial Flowers (optional…got mine at yes, Dollar Tree)
Green Yarn (or green felt or any material you like for the ground)
Supplies
Hot glue gun/hot glue sticks
Xacto Knife/Cutting Mat
Scissors
Pen
Measuring tape
Ruler
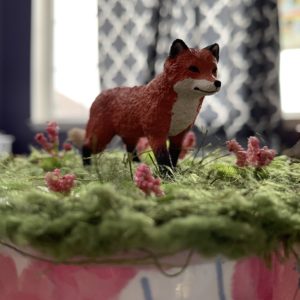
I wanted a Schleich figurine because I knew there was a fox in the right size and with awesome detail. But my heart sank as I found the Schleich stand nearly empty, and completely out of red foxes. I checked the other side of the stand and there was a beautifully sculpted arctic fox, with an even prettier shape, in my opinion (smaller ears and a different pose)! I bought it and painted it to be a red fox.
I also considered painting the figurine entirely metallic gold like a statue – make yours however you like! Dollar Tree has many different figurines from dinosaurs to unicorns to angels, and more. You can always use what you already have too…a little toy from a Kinder Joy, Happy Meal, etc.!
Start with the side of the container. Remove the lid and label (if the label is separate). You can use the label as a template, or measure the container with the measuring tape. Cut out the rectangle from your wrapping paper (I use wrapping paper because it has the length needed, but you can surely piece together scrapbook paper or whatever else you like) then add the lamination sheet on top. The lamination sheet probably won’t be long enough, so add another piece, allowing a little extra to overlap and seal. Press it onto the can. No need to glue!
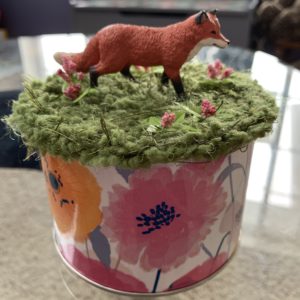
Now for the top! Set your figurine on the lid where you’d like it to be, then find a place for the coin slot where it won’t overlap. Cut a rectangular hole with the Xacto knife just wide and long enough to accommodate the largest coin that will go inside.
Next add your ground material. If you’re using yarn, start on the outer edge, then wrap it around toward the middle, gluing as you go, maneuvering around the coin slot.
If you’re using felt (or another sheet of material), glue the lid onto the sheet then cut away the rest. You can turn the lid upside-down and cut away the material from the underside. Remember that the lid will need to bend when the bank gets opened, so it needs to stay flexible–don’t use anything that will crack or break. Add trim to the side if you like…make it your own! An arctic fox with a snowy ground and beaded trim like icicles would be pretty…
Now paint your figurine if needed, then glue it onto the lid at the feet (or base).
I bought wildflowers at Dollar Tree because they had such tiny detail (itty bitty pink balls of foam) that I could cut them down and they’d still look like flowers. Glue the flowers (or whatever other detail you like) onto the ground around the figurine. That’s it!
What kind of ‘piggy bank’ did you make? Let me know with a comment!