***Updated November 2023***
First, if you have a little one on the way, CONGRATS to you! Now you want to nest and get that space ready for your bundle of joy. I had a blast designing the nursery (or as my husband says, “It’s ‘Lily’s room,’ not ‘nursery’), and here are my top tips to help you design a baby sanctuary.

#1: Decide on a theme.
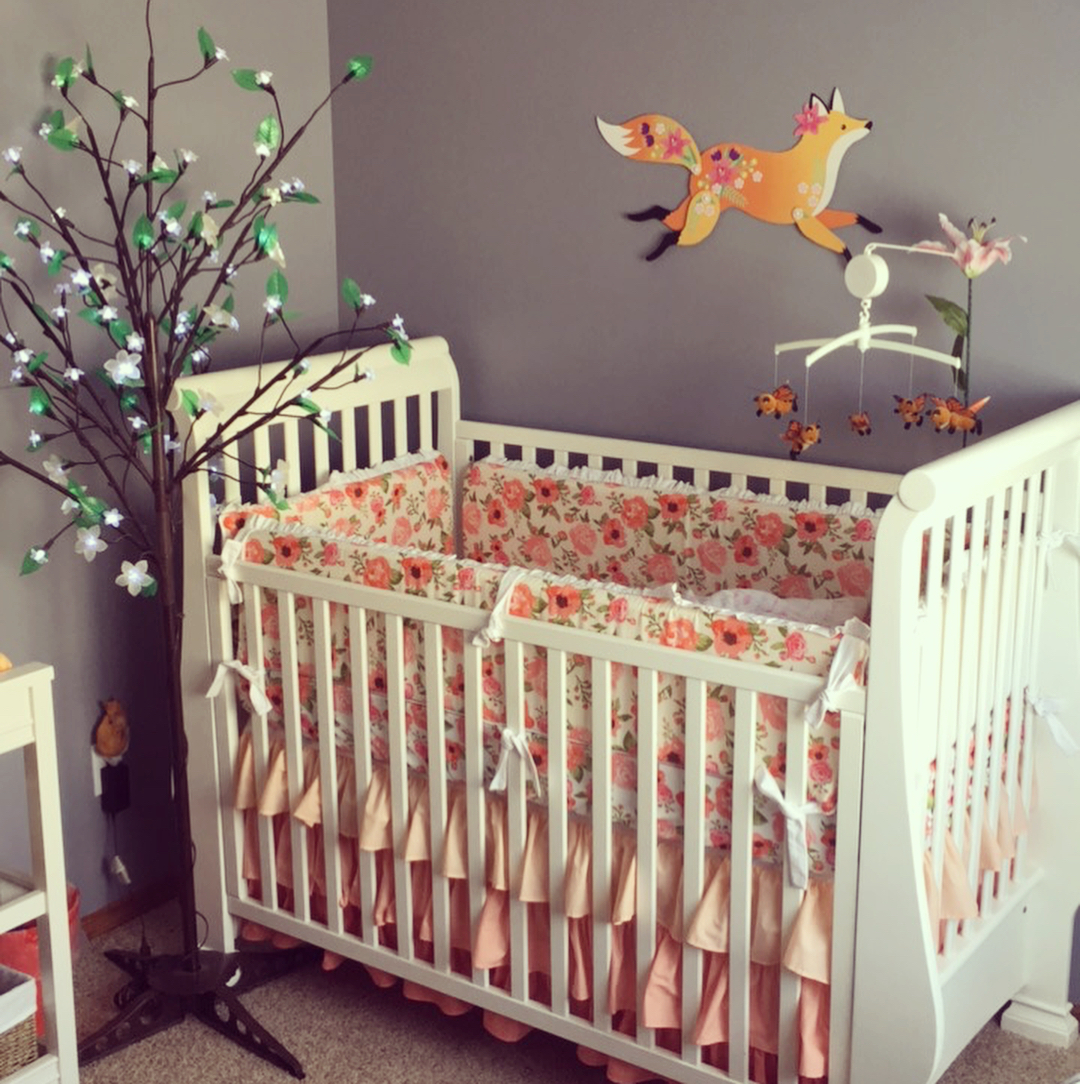
The first stage of good design is the concept. I wanted to get started before we knew the gender, so I picked a theme that could work for both: foxes! If I had known it was a girl, I might’ve gone with a mermaid/ocean theme as there are so many cute ocean-themed baby things available too.
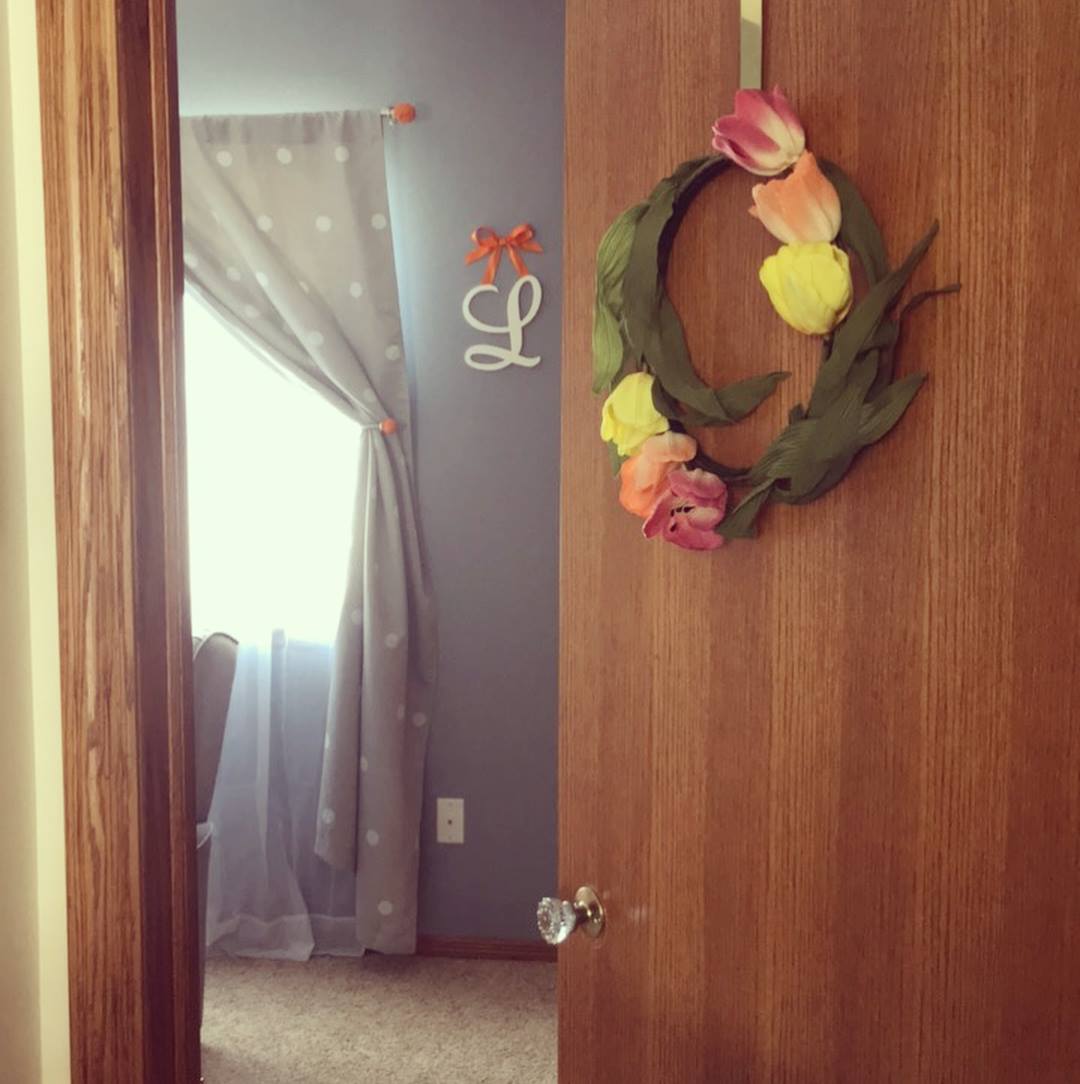
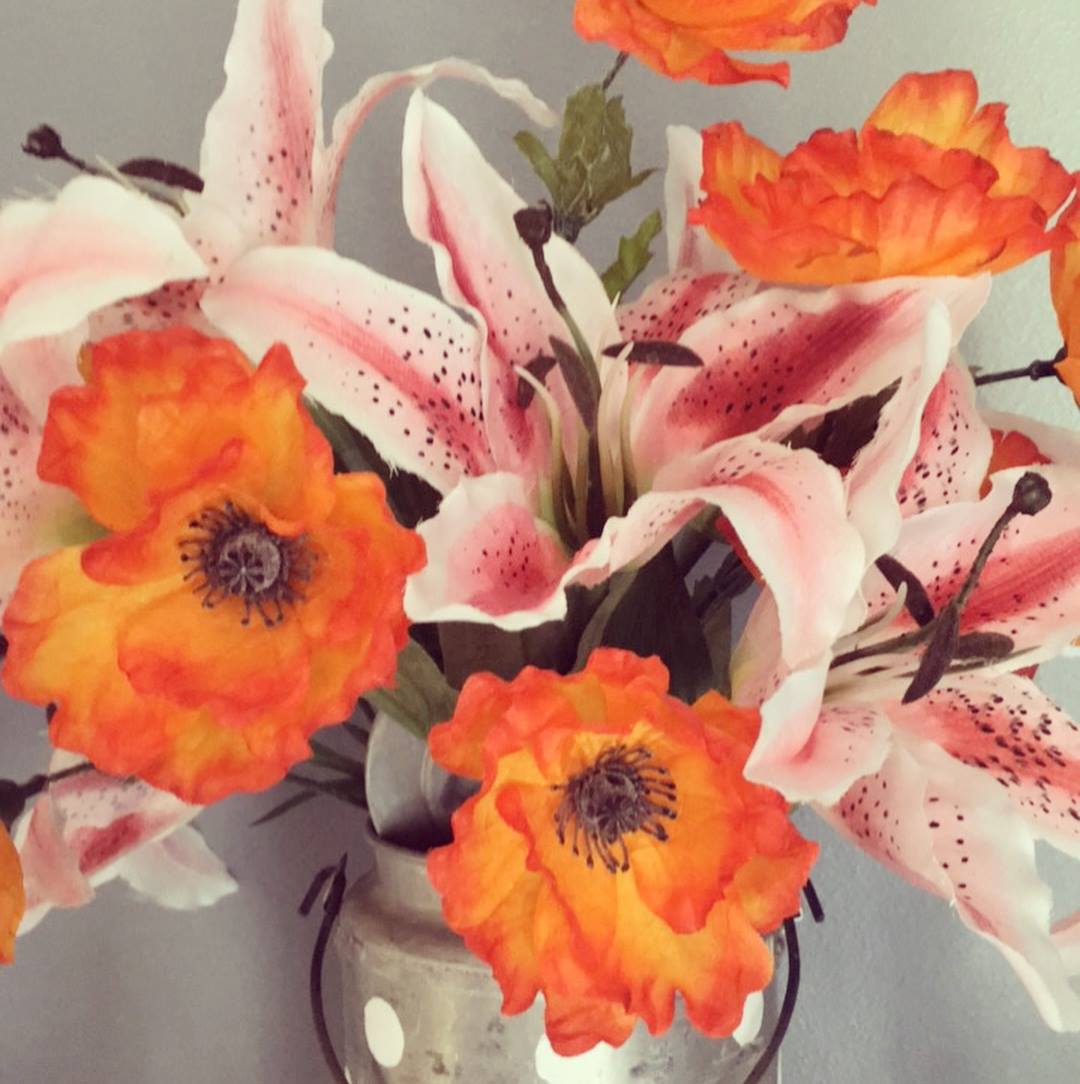
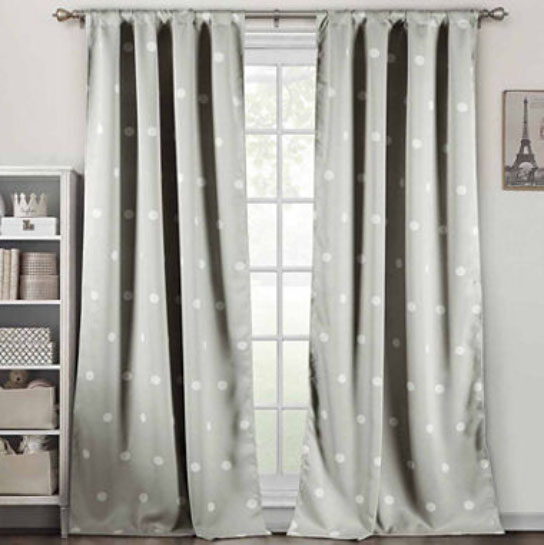
Foxes made orange the color theme, and then I decided on French gray to go with it. You don’t have to pick an animal or object to have a theme; if you just like simple and clean, that’s a theme too! And it’s fun to let it evolve; once I knew it was a girl, I added pink to the color scheme, and polka dots for a pattern. I couldn’t resist a flower theme since it was a girl, so I chose lilies (for her name) and poppies (for the orange color to go with the foxes). If you’d like some inspiration, I have one word for you: Pinterest!

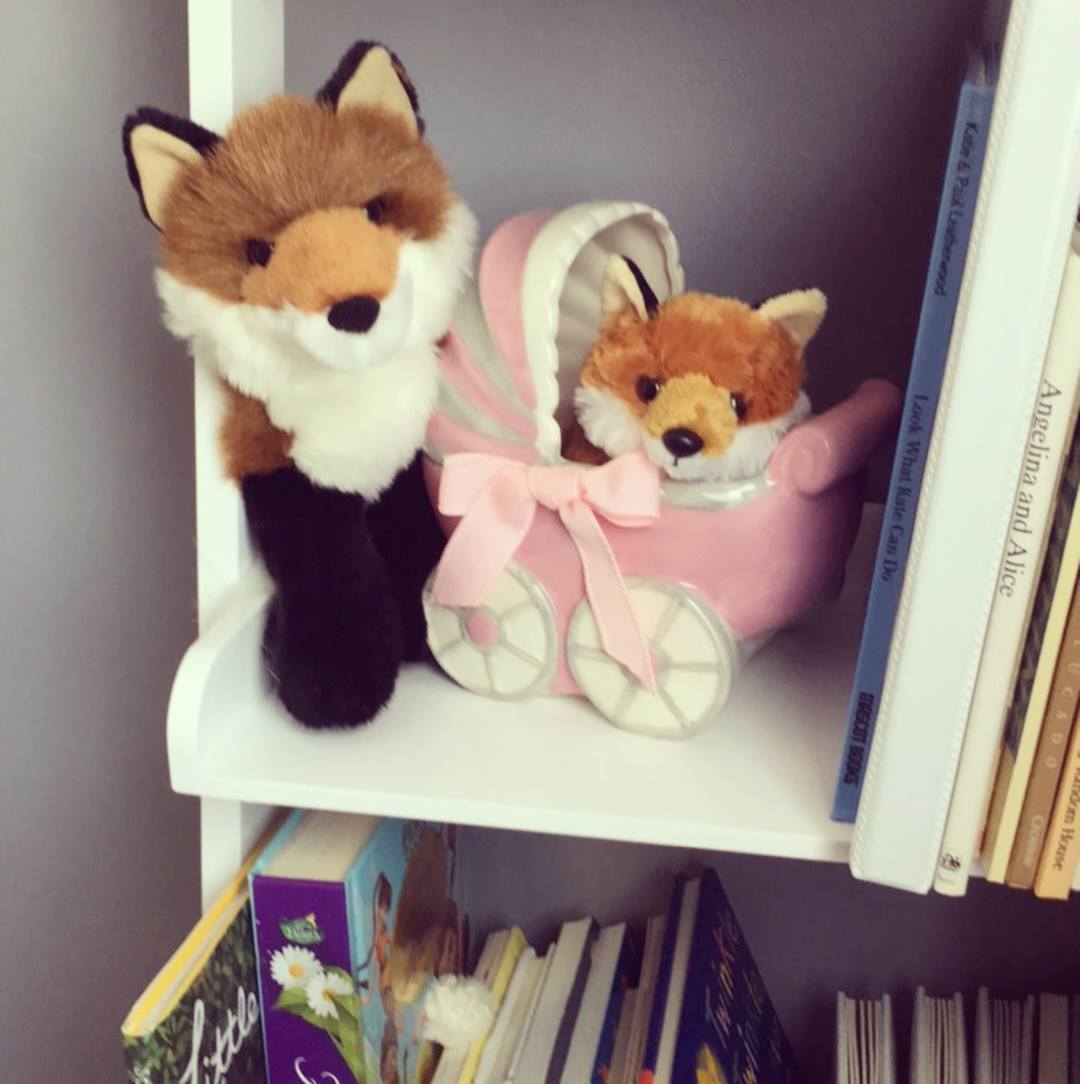


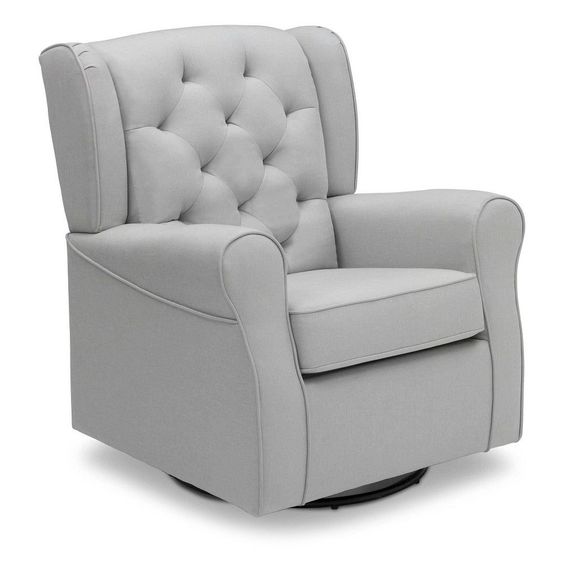
We have a pretty small space, so I had to decide ahead of time how all the furniture would fit. Even if your space is large, it’s still a good idea to plan it out. I found the most adorable book/toy shelf, but there was no way it would fit, so I compromised with tall, skinny ladder-style shelving. I also recommend a comfy chair, especially if you will be breastfeeding. I love my swivel glider chair from Target (one of my splurge items that ended up being a gift).

#3: Make a baby registry and a budget.
I did my registries with Amazon and Target, which I loved!
Here’s what I liked about the Amazon registry: Free shipping on most items with Amazon Prime. And once $1000 is spent on eligible items, you can get free diapers. Make sure you read reviews on items before adding them though!
Here’s what I liked about the Target registry: You can link it to your Pinterest so everyone can see your style. And you get a discount on items that weren’t purchased, and at one point they sent a cute little onesie for free.
Once you make your registries, put the web addresses on your baby shower invites.
Try to have your baby shower a month or two before your due date so that you will have time to get any essential items you still need. I had my baby shower when I was about ready to pop (for my mom to make the trip), so it wasn’t ideal to scramble so near the end to get everything we needed.
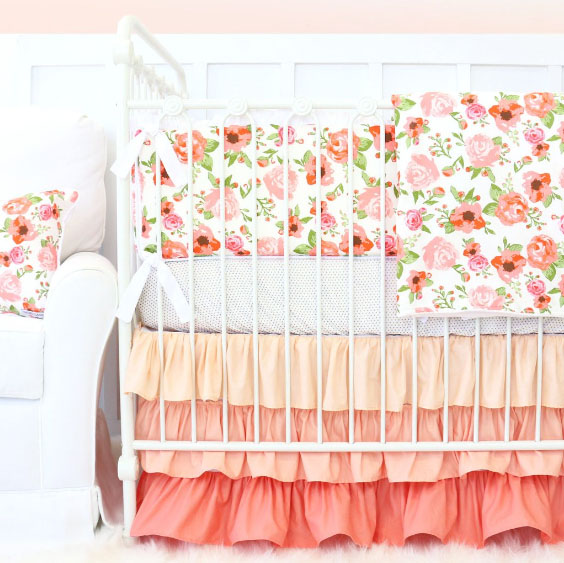
Unless you have money coming out of your ears, it’s a good idea to make a budget before you start buying anything. You can splurge here and there if you’re able to DIY or get things second-hand. I drooled over the gorgeous, expensive Pinterest cribs (like $1,000+ expensive). I knew I couldn’t afford that, but I didn’t want to settle, and my amazing mom friend found the EXACT white, sleigh-style crib I wanted, used but perfect condition. But be careful; safety standards are always improving and you don’t want anything dangerous or dirty (like a used mattress). The older the crib, the wider apart the railing can be, and babies can get their heads stuck between it. Facebook Marketplace is the most popular local buying/selling tool where I live, so find out what the popular method is in your area.
You can also be creative with your spending if you’re on a budget. I really wanted this fox rug, and I was able to get free shipping by letting it sit overnight in the cart…some stores give you a special offer to make the purchase if you do that.

Hand-Hooked Fox Rug – Expressions Catalog
Small accents complete the look, and they don’t have to cost much! I visited my favorite antique shop and found a really nice oval mirror (for just $15), a cute, small lamp (I dyed the lampshade orange myself and replaced the bulb with a new one), and an old lunch tin that I painted white polka dots on to match the curtains. I used it as a vase and found flowers at Hobby Lobby on sale for only $5.
I also already had a light-up tree (from ShopKo) that makes a beautiful night light and goes with the woodland fox theme. But be careful; some electronics have scary warning labels, such as ‘CONTAINS LEAD; WASH HANDS AFTER HANDLING.’ A different option is a wall decal; there are many cute ones out there.
#4: Match the paint to your pieces, not your pieces to the paint!
Despite all my HGTV watching, I still made this rookie decorating mistake. Get the crib bedding and/or curtains FIRST, then bring them into a helpful place (I love Ace, where they really are the helpful folks) and let them help you match it to the paint. I am afraid of brown, so for my gray I thought I wanted it more on the blue side, but it pretty much turned out blue. Also, don’t paint it yourself while you are pregnant as the fumes are bad for baby. My husband loved this opportunity to contribute. He also assembled the chair, crib, and changing table. But one thing I learned the hard way is that while it’s pretty easy to do, assembling the crib is a TWO-PERSON JOB! So don’t attempt that alone.
#5: DIY!
Save money, have fun creating, and enjoy the custom look made by you!
I made…
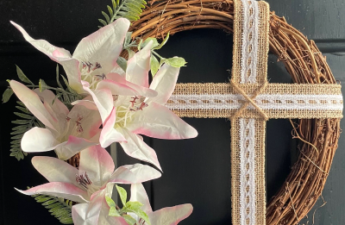
Wreath – Silk flowers from a consignment store +
a wooden frame and floral tape
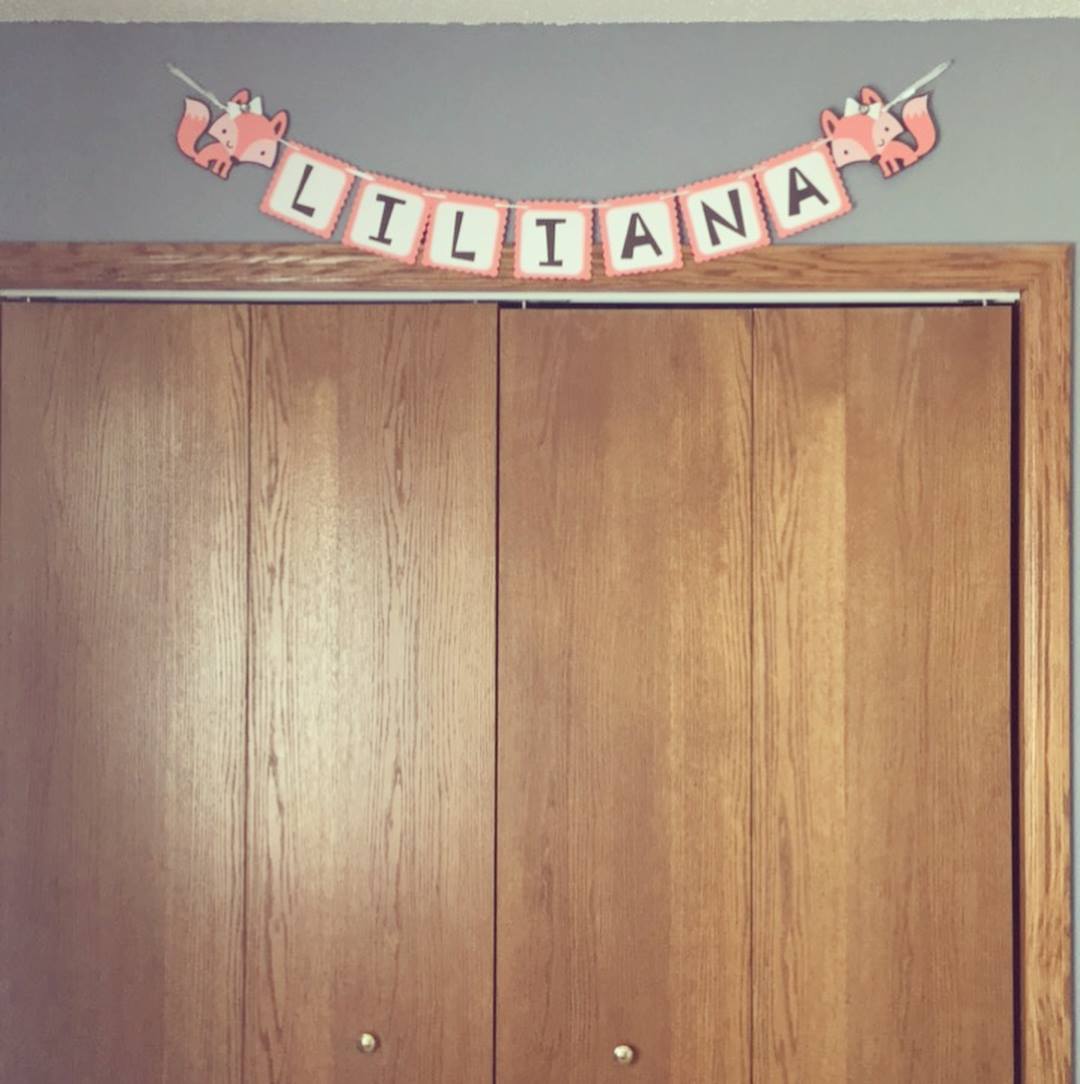
Wall Art – Monogram and large paper doll fox
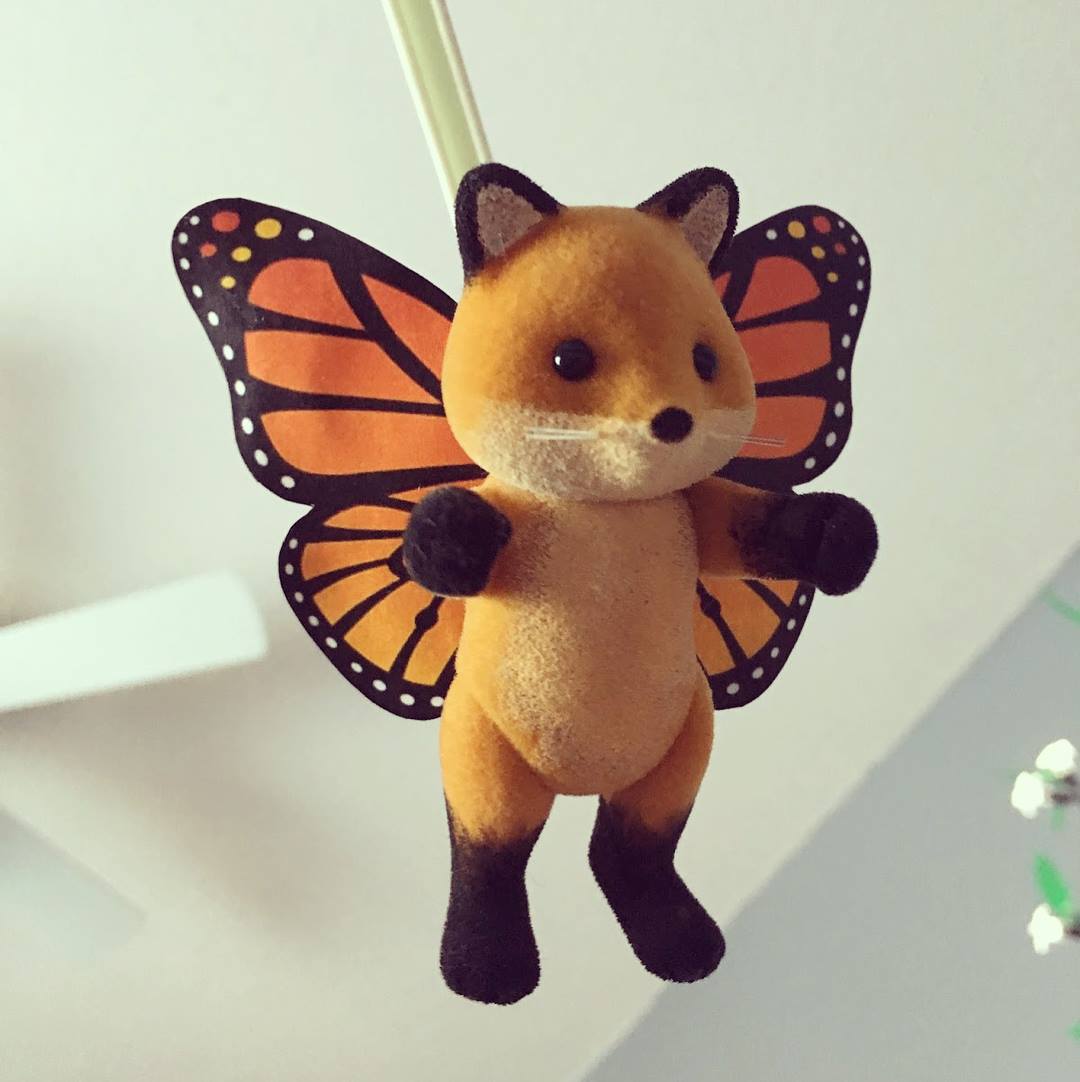
Mobile – see this post for details
(She is not able to reach the mobile, and when she is, it will go away)
Vase of Flowers – Artificial flowers on sale from Hobby Lobby +
Painted antique lunch tin

I made the curtain rod and pullback ends orange by stretching balloons over them (I got the idea from an ornament craft on Pinterest), dyed an old lamp shade…
if I could do it myself, I did!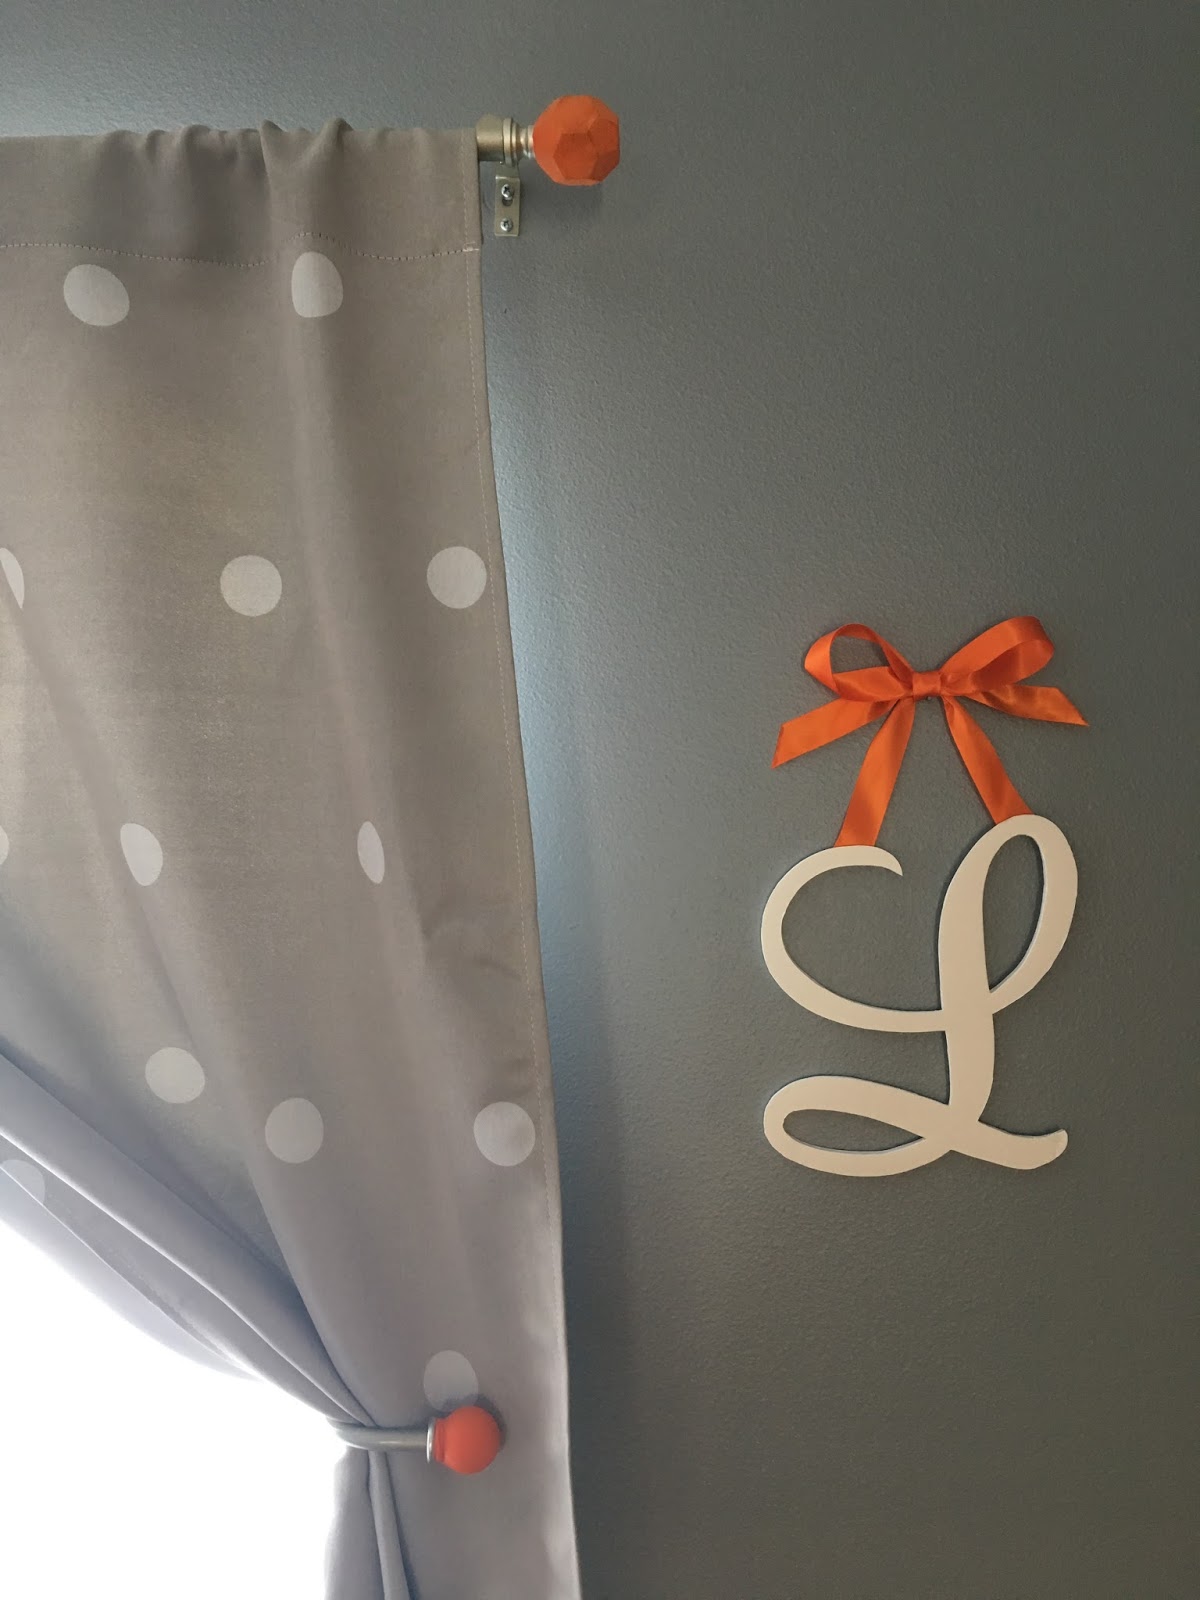
One idea I loved but didn’t have room for was an old entertainment center re-purposed into a changing table with shelves. I put together my own things as well, such as the baskets with the changing table (both from Target). It doesn’t have to come as a set to work great! I love not having to open and close a drawer to get out a diaper, since I do it sometimes a dozen times a day. The baskets are so cute; I had to have the liners with the bows. I like my changing table, but if you have the space, I think a corner changing table makes more sense (instead of changing the baby from the side).

Originally I didn’t think I could have the dream room I pictured, but because of generous gifts and being lucky enough to find used things (well, blessed, not lucky!), I did! And with enough patience and persistence, you can have your ideal room too. Let me know how yours works out with a comment, and happy nursery nesting!


I am design inept, so having a lovely wife like Kat was incredibly helpful when designing the nursery!