I’m always in denial over how fast my kids grow. I get their clothing size in my head, buy in that size, then find out it’s too small. And I’ve done it more than once, DOH!
That happened with my daughter’s underwear, and since I couldn’t return or donate them and they were barely worn, I decided to upcycle them into Barbie clothes!
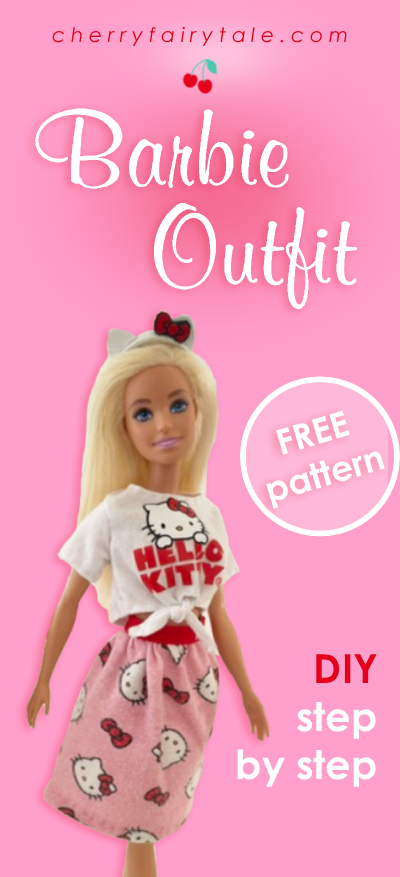
Barbie did do a colab with Hello Kitty in 2018, but I don’t know of any currently. So please enjoy this FREE pattern to make a shirt, skirt, and headband! I thought an oversized, cropped T-shirt would be perfect for the screen print size, and a skirt would also be great for the repeat pattern. But of course you can just use whichever fabric you like!
Materials
Fabric & 1/4″ Elastic
Thread (in whichever fabric colors)
3/8″ or 1/4″ wide Velcro (I used white, for shirt)
White & Black Foam Sheets (only a very tiny amount needed!)
Copy Paper (to print pattern w/ bow)
White Elastic Cord (a small amount for headband)
Supplies
Printer (if not color, just color in the black & white bow)
Paper Scissors
Fabric Scissors
Sewing Machine (for skirt gathering)
Sewing Needle
Fabric Pins
Tacky Glue
Hot Glue Gun/Hot Glue Sticks
STEP 1 : TIE – SHIRT
Print the pattern (link above) and pin the shirt pieces to your fabric then cut: 1 Front, 2 Back, & 2 Sleeves.
When pinning the Front, you may need to get as close to the top edge as possible in order to fit the screen print. Cut through the elastic if needed then remove after.
And sorry I didn’t ‘true’ the edges on the front and sleeve patterns…that means when the seam allowance folds under it will taper, but it still works since it’s such a small scale!
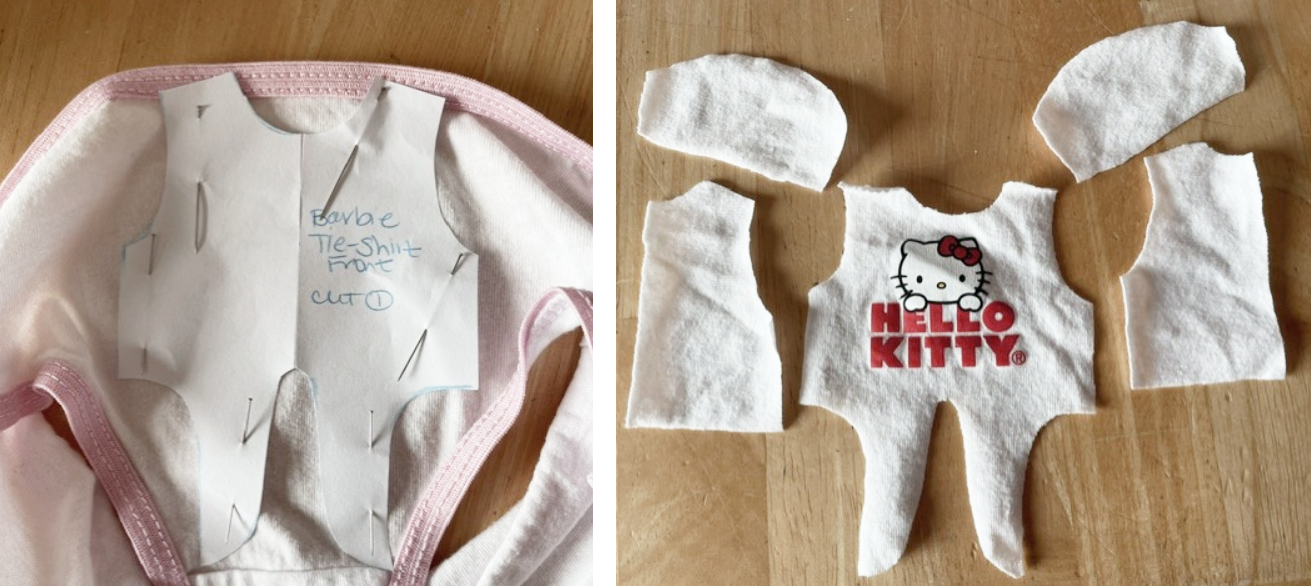
Hand-sew the front shoulders to the back shoulders (right side to ride side). Also sew the sides together.
Hand-sew the sleeve sides together, then turn the bottom sleeve edges under and sew.
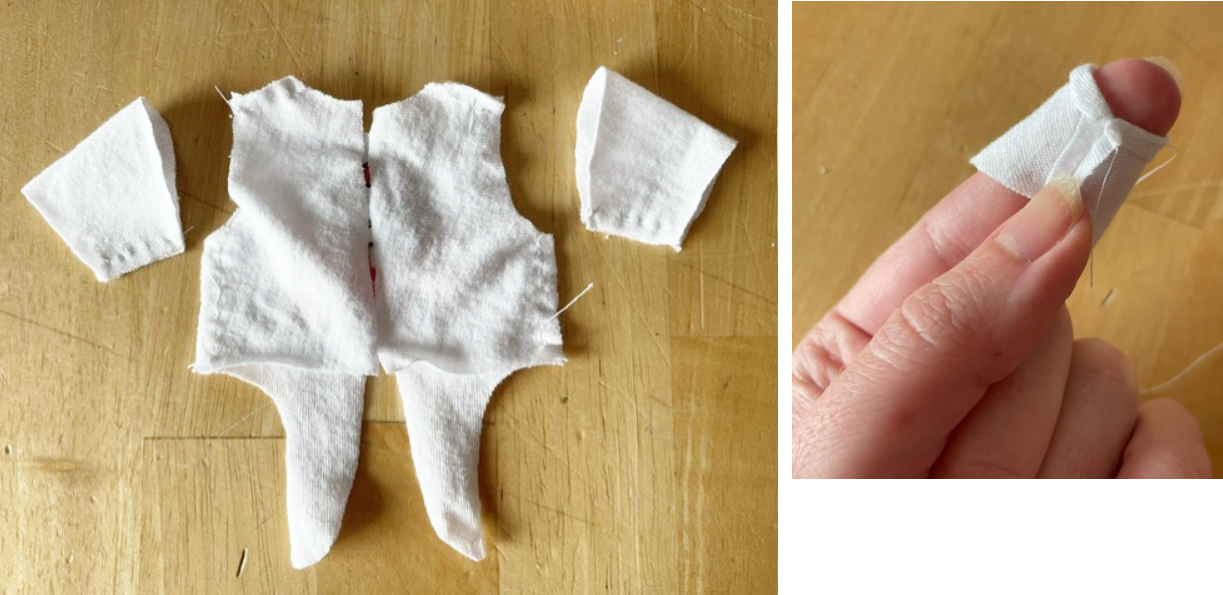
Turn the sleeves right-side out (seams to the inside) and place shirt over it with the wrong side up. Pin the edges and sew the sleeves to the armholes (press front and back pieces seams open as you do).
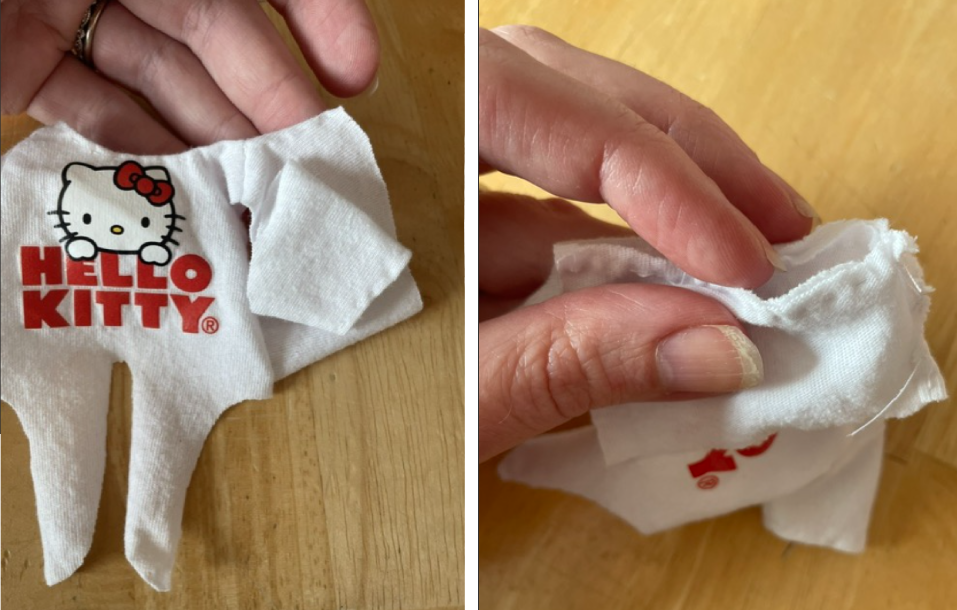
Turn under the neck edge and hand-sew. do the same for the bottom edge, stitching under the ties.
Clip the seam allowance around the small curves if it’s pulling too tight.
Sew the Velcro to the backs, then knot the ties.
If you don’t have small Velcro, you can just cut regular strips down to size.
STEP 2 : SKIRT
Cut a rectangle as large as possible on the back of printed undies, about 8″ x 4.”
If using regular fabric and a fuller skirt is desired, try 16″ x 4.”
Remove the elastic band from the fabric and cut the elastic to 3 3/4″ long for the waistband.
Baste stitch (large stitches) the top edge of the skirt and gather to about 6.”
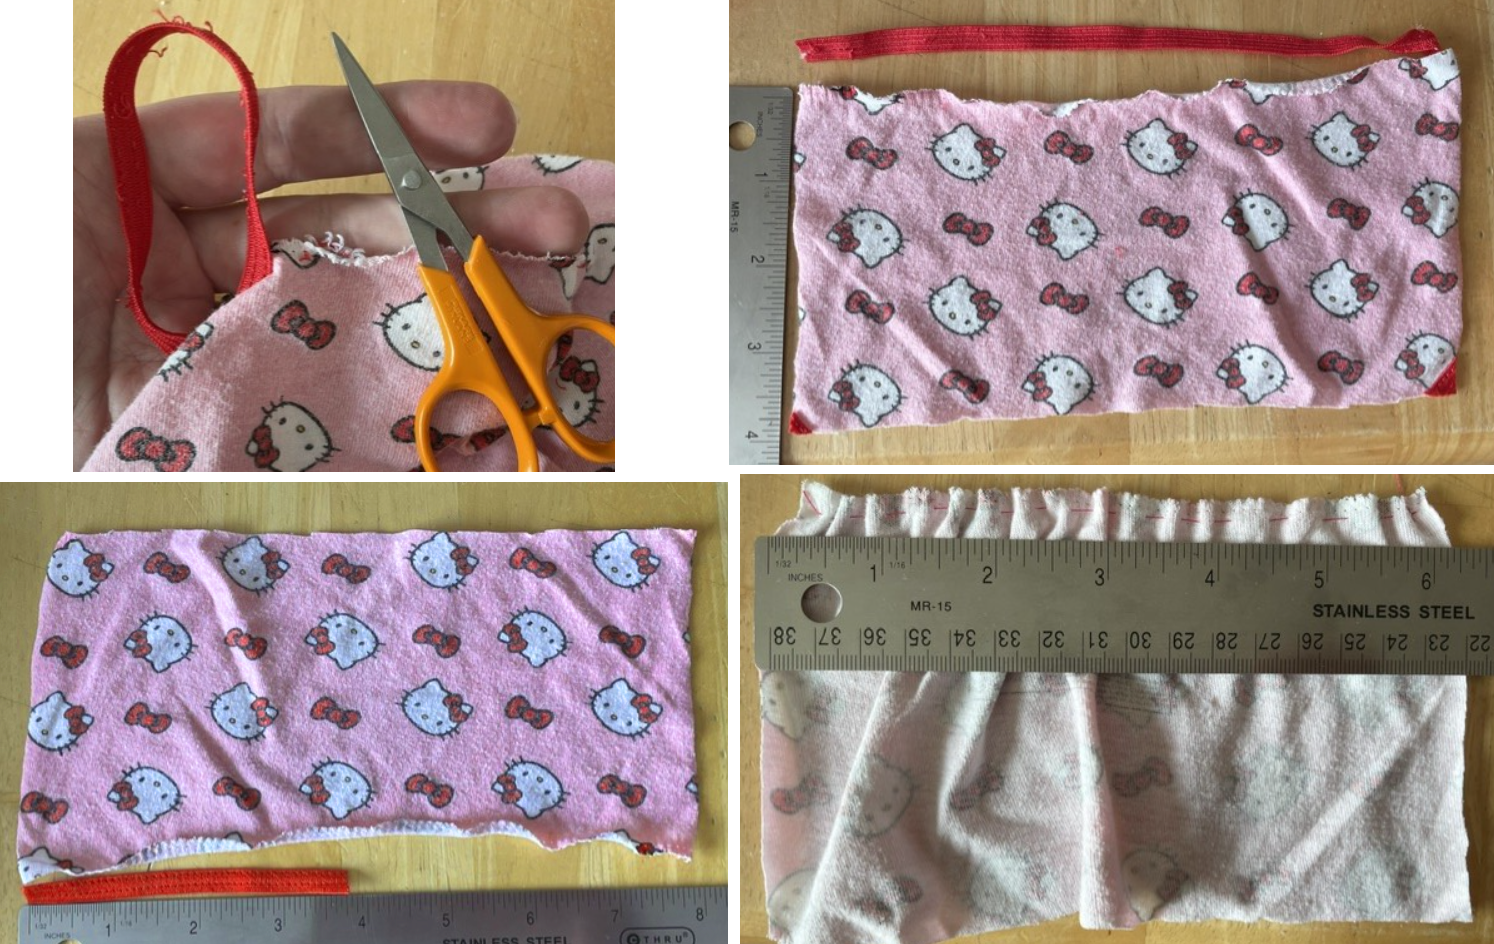
Pin skirt to elastic and sew together using a sewing machine, stretching the elastic to the skirt length as you sew.
Sew the center back seam.
Turn & turn the hem and hand-sew.
STEP 3: HEADBAND
Cut out the pattern pieces (ear, band) and bow.
If printing black & white, color in the white bow option.
Add a piece of lamination sheet (or just tape) over the bow for more durability & shine.
Glue the bow to a piece of black foam sheet (or black cardstock works) and cut it out.
Hold the ear pattern on a white foam sheet and cut out 2 ears.
Also cut out the headband piece out of white foam sheet.
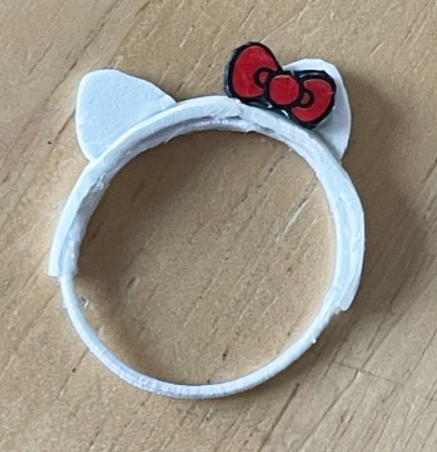
Cut a piece of white elastic cord (I used the elastic used on new shoes tied together) about 4 1/4″ long to make a circle shape when placed on the band. Carefully hot glue the cord to the band, meeting the ends together under the middle of the foam band.
Hot glue the ears on top, then hot glue the bow over one ear.
How did yours turn out?! Let me know with a comment!