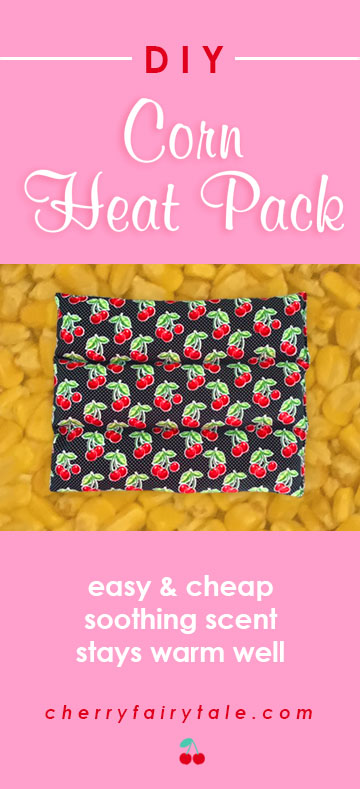
Two words: Iowa winter. This season it has been 20 below, and that’s without windchill. I’d been wishing I had my friend’s corn heat pack to use. She bought it at a county fair many years ago, and I always wanted one. They are great because…
1) They feel so good, whether you’re relaxing sore or tight muscles, or just warming your feet.
2) They retain the heat really well.
3) The warm corn smell is very soothing.
I searched every fair since but never found them, and they are much too expensive on Etsy (they are quite heavy so the shipping charge is also too much). Then one day I had the same epiphany as always: I can make one! I made one for myself and one for my dad (I inherited my back issues from him…poor us). My mom kept taking his so I made another for her. Everybody wants one! The materials are so cheap (assuming you already have a sewing machine), and it makes a great gift.
Here’s what you’ll need:
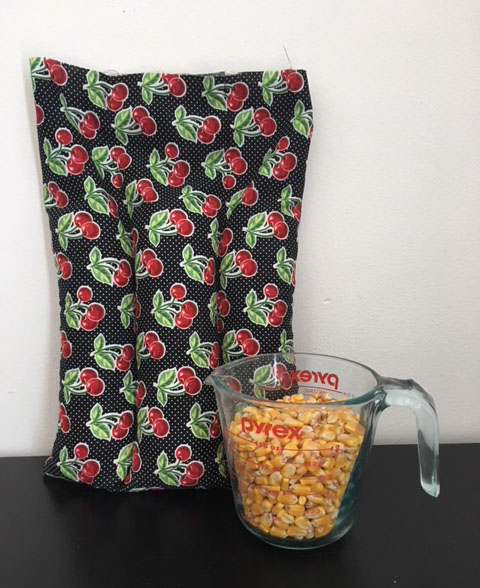
– 100% Cotton fabric (do not use synthetic material as it can melt!)
– Field corn (used to feed animals; do not buy popping corn!)
I got a bag at Bomgaars, which was only about $6.
– Sewing machine/thread
– Scissors/ruler or rotary cutter/board (I just cut on the floor!)
You can make a long, skinny pack to go around your shoulders, but these dimensions are for a square pack (I use on my feet and back). Ironically I couldn’t carry the heavy corn bag out of the store because of my back problems, so my tall, handsome and strong husband carried it for me. Be careful…don’t lift more than your muscles can handle.
Here are the steps!
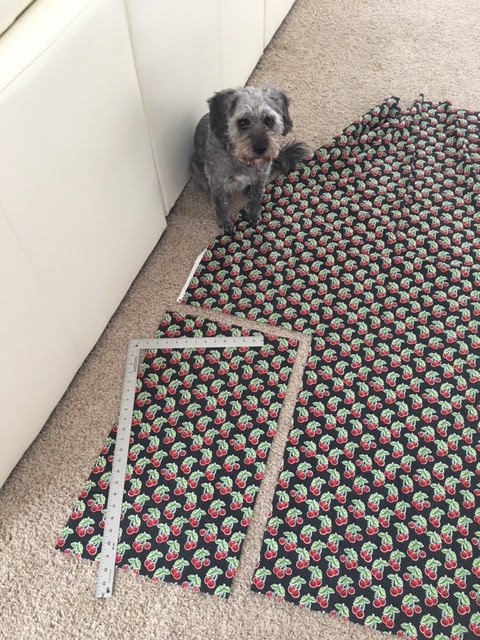
1) Cut out a piece of fabric 14.5″ x 25″ (if your puppy distracts you with her cuteness, you’ll just have to wait to snuggle her later).
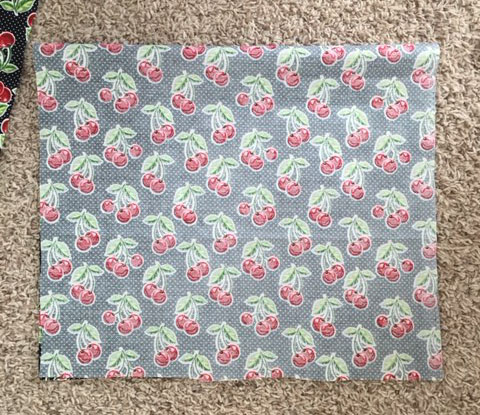
2) Fold in half so it measures 14.5″ x 12.5″ with the wrong side out.
Sew 1/4″ seam allowance along the short edge, turn, and sew the long edge.
3) Turn right side out and sew 2 lines long ways 4″ apart. Leave 1/2″ at the opening for finishing. I like to pin ribbon on as a guide.
4) Fill each section with about 3 3/4 cups of corn, or until each is 75% full. The extra room is to allow you to sew it closed, and to give it flexibility.
5) Turn edge in 1/4,” pin and top stitch closed. Be careful to hold the corn back from falling out, and don’t let the weight pull on the presser foot.
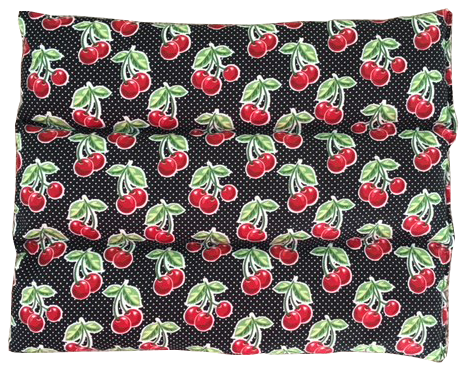
And you’re done! For how long to heat, it depends on your microwave and how hot you like it, but I like to zap mine for 3 minutes. When you first warm it up, start with one minute then increments of 30 seconds until you get it to the temperature you like, to be on the safe side (it CAN burn you), and enjoy! What fabric did you use? Let me know with a comment!